

Hot Wheels How To
How to Clean Diecast Cars Without Damaging Paint or Parts
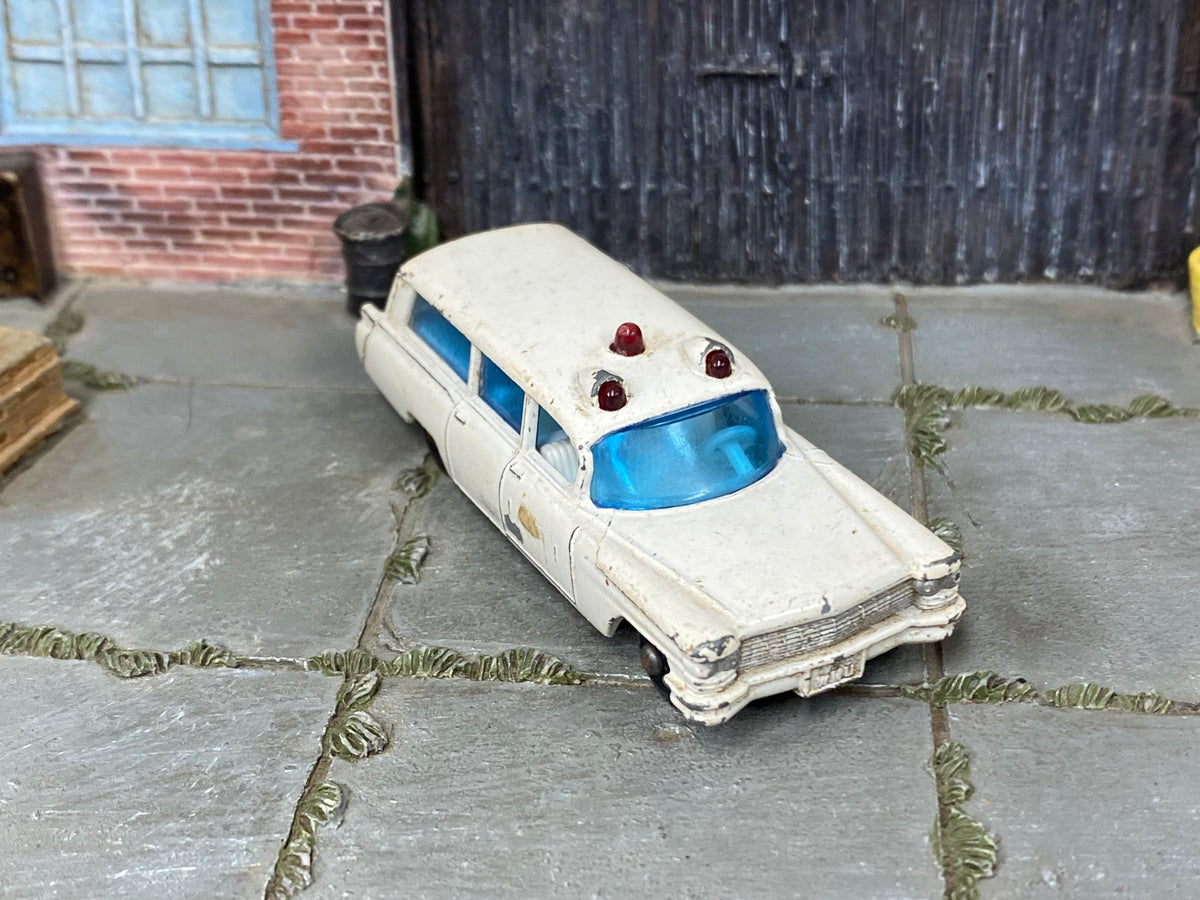
Direct answer: Preserve a Hot Wheels car by identifying its finish and parts before cleaning or repair. Start with the least aggressive method, test an inconspicuous area, and stop if paint, decals, or plastic react. For restoration, document the original condition first and choose preservation when it retains more authentic material than a full rebuild.
What to check before you begin
Dust with a soft, clean brush and use a lightly dampened cloth only when the surface tolerates it. Avoid soaking the casting, forcing water into the base, or using household solvents on unknown paint and plastic. For sun protection, reduce direct light and heat, and rotate display positions rather than relying on glass or a case to block every wavelength.
Start from the exact question in this guide: How to Clean Diecast Cars Without Damaging Paint or Parts. Use the current car and parts in front of you as the reference. Photos can document details, but compare them with measurements or reliable release information when the decision depends on fit, originality, or value. Keep confirmed details separate from estimates.


A practical step-by-step process
- Photograph the car and note paint, decals, plastic, wheels, and any loose parts.
- Remove loose dust with a soft brush; test any damp cleaning method on a hidden area.
- Do not use abrasive polish, strong solvent, or adhesive remover until you know how the original finish reacts.
- For restoration, separate reversible cleaning from repainting, drilling, or replacement parts.
- Store in a stable, dry location away from direct sunlight and high heat; use a case to limit dust and handling.
Keep the result accurate and useful
Record the model, condition, measurements, and changes in a short note that you can return to later. If you are buying or modifying a car, save the listing and clear photos before work starts. If a detail remains uncertain, say so rather than turning it into a definite claim. That makes the guide useful to collectors with different castings, parts, and experience levels.
For related projects, explore finished custom Hot Wheels and DIY Hot Wheels kits. Check the exact fit, contents, or condition on each listing because product details vary by item.
Frequently asked questions
Can I use household cleaner?
Do not assume it is safe for unknown paint, decals, or plastic. Test a mild method in a hidden spot and stop if the finish changes.
Should every old car be restored?
No. Cleaning or preserving the original can retain more collector value and history than rebuilding.
Does a display case prevent sun damage?
It can reduce dust and handling, but placement away from direct light and heat remains important.

