
Lo mejor para coleccionistas
Best 1:64 Diorama Accessories for Diecast Displays
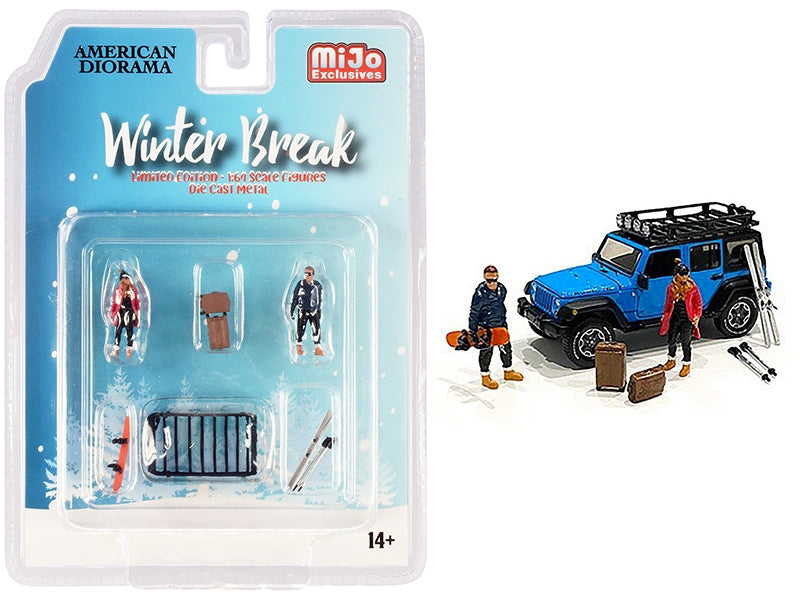
Featured example: Winter Break Figure & Accessory Set – American Diorama 1:64. The vehicle shown in the supplier display is a prop; the listed set contains figures and accessories.
The right accessory gives a parked 1:64 car something to do. A figure beside the door suggests an arrival; tools beside a garage bay suggest a repair. Pick the setting first, then choose a few pieces that make sense beside your cars.
Use figures to show the size of the scene
Place a figure near a car before buying a whole crowd. That makes it easier to judge how the people, vehicles and buildings look together. Choose poses that suit the setting, whether it is a paddock, pavement or workshop.
Give workshop tools a place to work
Put a jack, toolbox or spare tire near the car it belongs with. Leaving access around the vehicle makes a garage scene easier to read than scattering equipment across every open patch of floor.
Use barriers and signs to mark out space
A few cones can separate a work area from a road. A bench or sign can suggest a street without needing a full row of buildings. Start with the pieces that explain the location.
Try a background before adding more props
A backdrop can give a shallow shelf some depth while leaving room for the cars. Check it from the angle you normally view the display; a background that looks good straight on may work less well from the side.
Find figures, props and scenery
Start with accessories that match the scene
A current 1:64 example is the American Diorama Winter Break figure and accessory set. A set like this works because the figures and props already share a theme. That is usually more effective than buying unrelated accessories one at a time.
If the scene is motorsport, garage or city-based instead, choose accessories that support that specific story. The 1:64 diorama build guide explains how to place cars first and add figures second.
Current Muncle Mikes Display examples

1:64 Crystal Clear Display Case
Use the live listing to compare scale, contents, condition and display fit with the guide.

GreenLight 1:64 Acrylic Case
Use the live listing to compare scale, contents, condition and display fit with the guide.

Auto World Prestige Display Case
Use the live listing to compare scale, contents, condition and display fit with the guide.
