

Model Building Guides
Airbrush Paint: Prepare a Mix and Check Your First Spray
Prepare airbrush paint for the exact range and surface you are using. Before filling the cup, identify the paint, its approved thinner if one is needed, the surface beneath it and the finish you want. Then make a small test mixture. A successful test gives you a repeatable starting point for the model.
This guide takes you from the bottle to that first useful test. If you are still deciding between paint families, start with our comparison of acrylic, enamel and lacquer model paints.
Read the paint range before choosing a thinner
“Acrylic” is not a mixing recipe. Even paints from the same manufacturer can be prepared differently. Separate a paint designed for direct airbrush use from a brush paint that needs dilution.
| Paint range | Starting point | What to check |
|---|---|---|
| Vallejo Model Air | Formulated for airbrushing directly from the bottle. | Shake as directed. Use the range's guidance if your setup calls for Vallejo Airbrush Thinner or Flow Improver. |
| Vallejo Model Color | Formulated for brush painting; Vallejo also gives instructions for airbrush dilution. | Follow the airbrushing instructions for the paint you have. Do not treat it as Model Air because both bottles say Vallejo. |
| Tamiya bottled acrylic | Tamiya identifies X-20A as a dedicated acrylic thinner. | Match the exact paint and thinner instructions. A shared color name does not make different Tamiya paint ranges interchangeable. |
Airbrush-ready describes a starting formulation. It does not promise the same behavior through every nozzle or on every surface. Likewise, a brush paint is not automatically unusable in an airbrush: the maker's supported preparation decides that.
Thinner prepares paint for application; cleaner removes paint from the equipment. Some products, such as Tamiya X-20A, are approved for both jobs. Use a product for both only when its maker says to, and check the airbrush instructions before cleaning its parts.
Set up a test that answers the right question
Choose a spare piece that represents the model's material and prepare it with the intended primer. Paper can help you practice trigger movement, but it cannot establish whether a paint system will adhere to your kit. A spoon made from a different plastic has the same limitation.
Before mixing, write down the paint name and code, thinner name, airbrush nozzle size and the maker's starting settings. Arrange ventilation and use the protective equipment specified for the paint, thinner and cleaner. Water-based paint still produces airborne mist; its water content does not make the spray harmless to breathe. Keep the airbrush manual available for cleaning and adjustment instructions.
Mix only a small amount for the first trial. Measure additions consistently and record what you used. If you adjust the mixture later, the record lets you return to the earlier version instead of guessing what is in the cup. Do not combine different paint ranges unless their manufacturers support the mixture.
Make the first passes before chasing coverage
Begin with a short pass on the test piece. Look at the spray as it starts and stops, then inspect the surface. Can you produce an even band without flooding one end? Does the paint land consistently, or does the pattern change while you are moving?
Build a small patch with controlled passes, following the paint's specified intervals. Stop when it is sufficiently covered to judge. Vallejo's Model Air guide recommends several thin coats with drying between them; that is useful guidance for Model Air, not a drying timetable for every formula.
Keep the trial simple. If the result is poor, change one variable at a time within the manufacturer's directions and label each new test. Changing dilution, pressure and distance together makes it difficult to identify which adjustment helped.
- Uneven delivery: check the airbrush's cleaning and troubleshooting instructions before adding more thinner.
- Paint collecting in recesses: reduce how much you deposit in that area and assess another test pass.
- Unexpected texture: compare preparation, settings and application with the paint maker's guidance instead of assuming one cause.
- Damage to the test surface: stop and recheck the paint, primer and substrate combination before painting the model.
Judge the dried sample as well as the wet pass. If the model will receive masking, decals or clear coat, extend the test through that planned sequence using the specified waits. Our guide to thin paint coats explains how primer, color and clear contribute to the finished thickness.
A metallic example: preparation includes the base
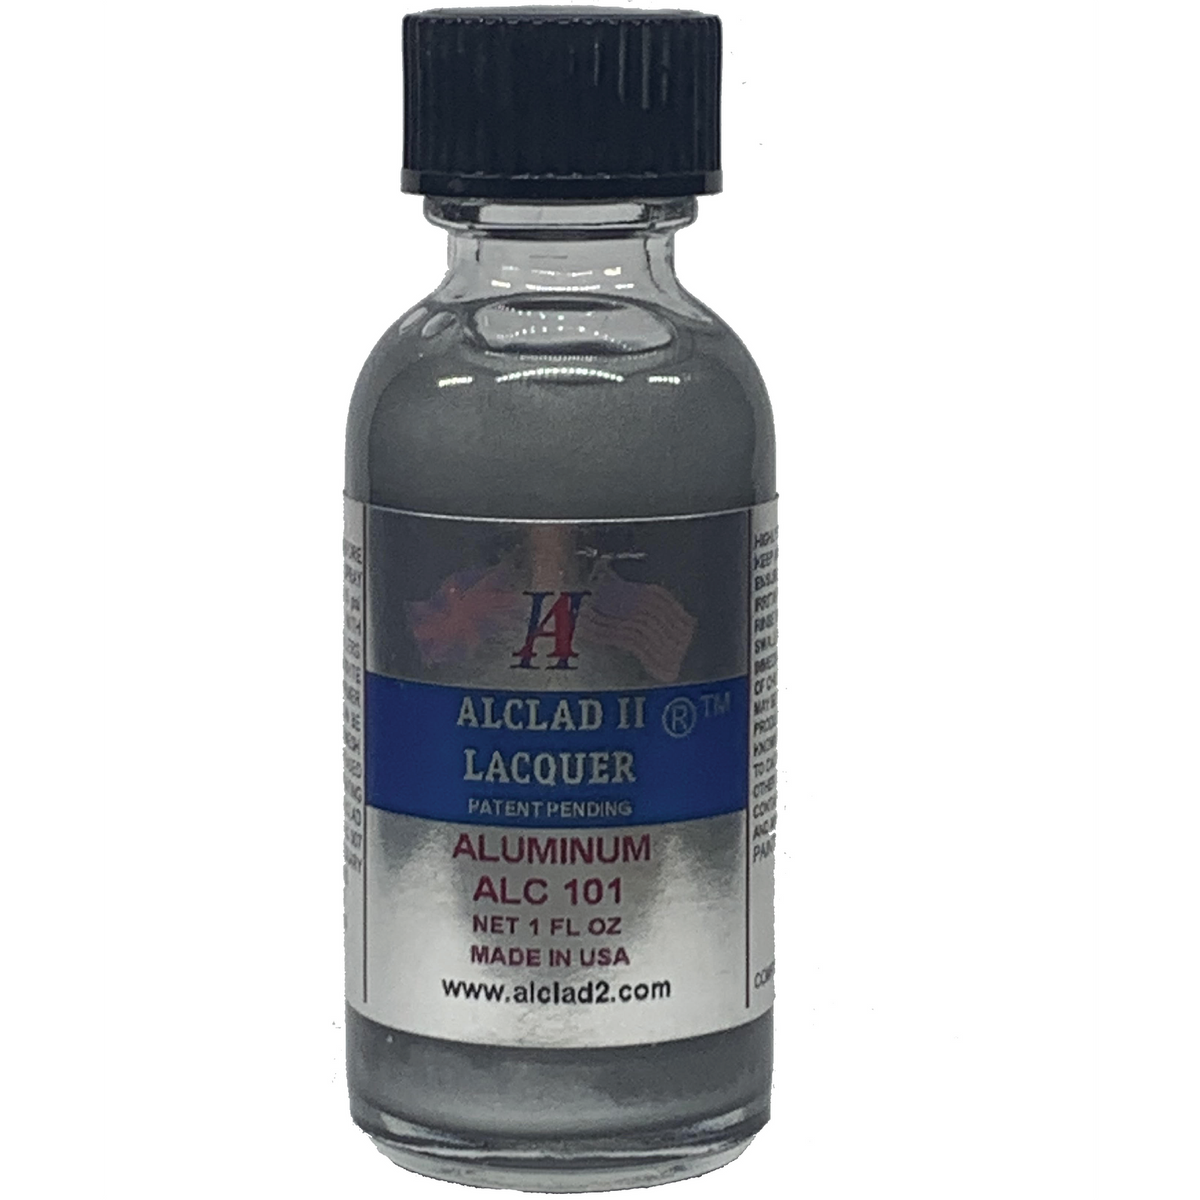
Alclad II Aluminium ALC-101, 1 fl oz

This metallic lacquer is an example of why a spray test needs the correct base. Alclad places ALC-101 in its Regular finish range and requires a suitable primer on injection-molded plastic. The brand's separate High Shine finishes have different base requirements.
Choose ALC-101 when an aluminium metallic finish suits your project, then follow its current application and primer directions. Do not transfer an acrylic thinner recipe to it or assume instructions for another Alclad finish apply.
Check the ALC-101 bottle and product details before adding it to your painting plan.
Questions before the next cup
Should I add thinner to every airbrush paint?
No. Start with the exact range's instructions. A paint supplied for direct airbrush use and a concentrated brush paint present different starting points. Additives should solve a supported preparation need, not become an automatic ritual.
Is there one pressure or mixing ratio for beginners?
Use the paint and equipment makers' starting guidance for your combination. Record the settings that work in your test. A ratio copied from another formula does not establish compatibility or explain a poor spray pattern.
When is the test ready for the actual model?
Proceed when you can repeat the application, the prepared surface remains sound and the dried result suits the job. Keep the labeled sample and notes so the next session starts from the same setup.
Choose a color and exact range in model paints, then assemble the matching primer, thinner and finishing products from paint and finishing supplies. For the rest of your project, return to the Muncle Mikes Learning Center.

