

Plastic Model Guides
Gunpla Model Kits: How to Read the Mk-II Assembly Guide
Gunpla model kits become much easier to build when you can tell a loose-part code from a reference to something you have already assembled. A letter and number can send you to a runner; a boxed step number can send you back to a finished section. The surrounding drawing tells you which job comes next.
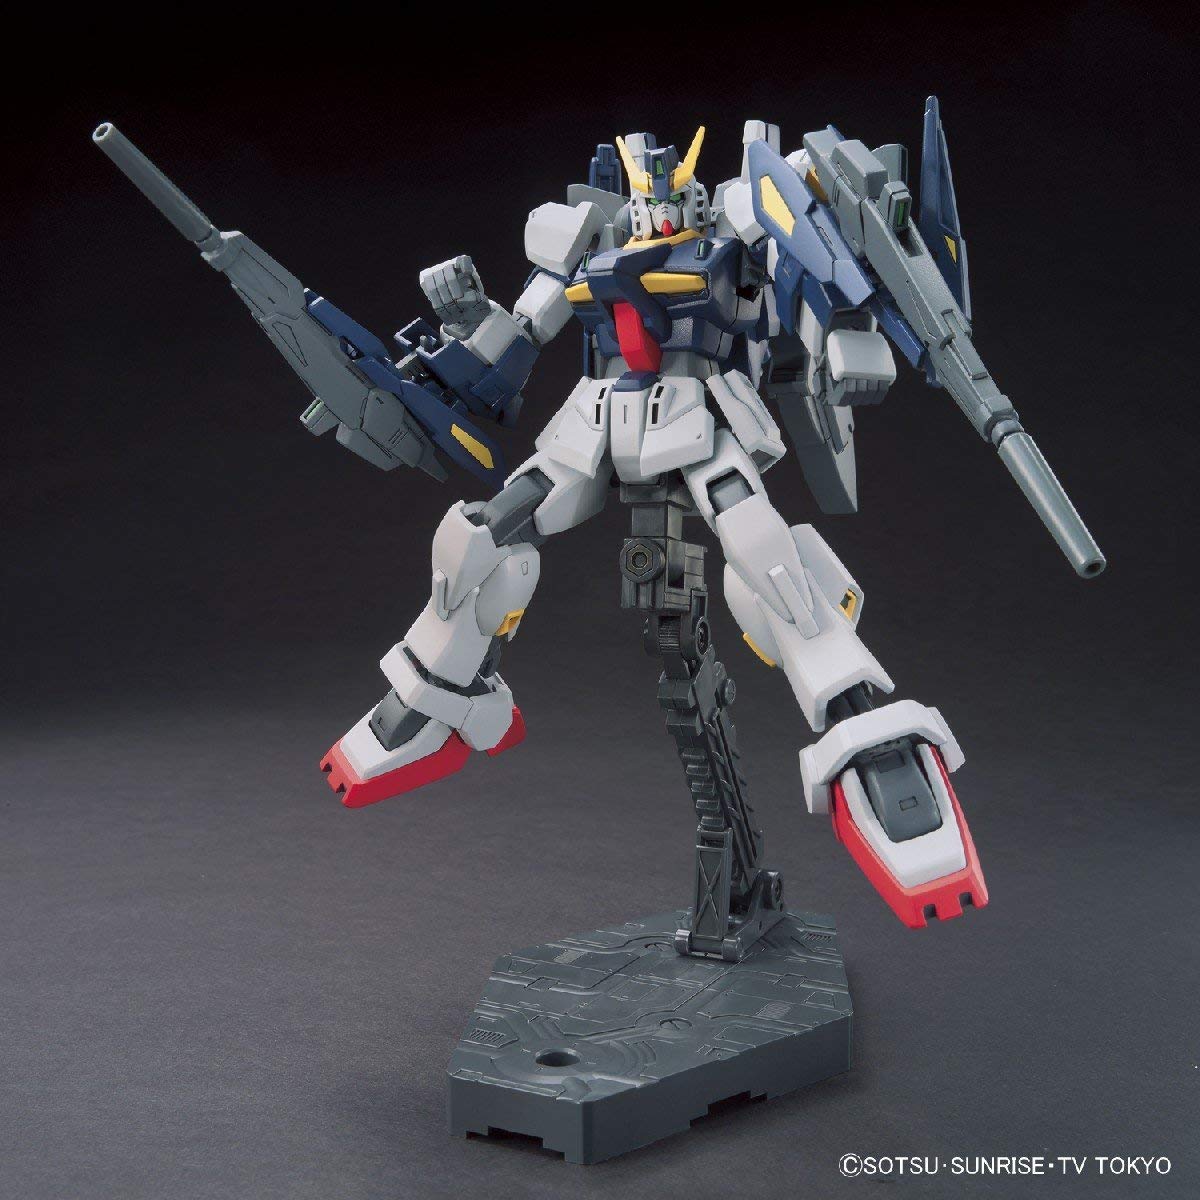
The HGBF 1/144 Build Gundam Mk-II is the example in this guide. Use the instructions supplied with your own kit while you read. The aim is to follow the diagram confidently, so you can fit the intended pieces in the intended order without turning an unclear reference into a damaged part.
Start with the right Mk-II instructions
Bandai’s HGBF Build Gundam Mk-II has manufacturer number 2221156. The MM kit is HGBF #004, RX-178B, at 1/144 scale. Keep those details in mind when finding instructions: another Mk-II release can use a different construction even when the finished mobile suit looks familiar.
Open the runner map before beginning the first assembly. A runner is the plastic frame holding the molded pieces. Match its raised letter or label with the diagram, then find the numbered piece requested in the next step. Color can help you spot a group of parts, but the runner label and part number decide which piece to use.
Leave parts on their runners until the instructions call for them. A pile of similar gray pieces is harder to sort than a labeled frame. Work with the parts for the current step, and keep the remaining runners within reach so the drawing and the numbers stay easy to compare.
Three kinds of reference need three different actions
| What the drawing identifies | What to find | What to do next |
|---|---|---|
| A runner label and part number | One molded piece on the named frame | Compare its shape and orientation with the drawing before removing it. |
| An earlier numbered assembly | The completed result of that step | Bring that section into the current assembly; do not search the runners for another copy. |
| A lettered or named module | The assembled section shown by the label | Follow the outline and arrow to see where the whole module goes. |
Read the complete callout, including its border and the nearby outline. A letter alone is not enough to decide whether the instruction means a runner or a finished module. When the next drawing contains a completed head, torso or backpack, look back for the assembly that matches that outline.
This is especially helpful after a break. Find the last finished section in the manual, then look at how the next step uses it. You can recover your place by matching shapes instead of pulling apart completed work to see what is inside.
Read the whole step before joining the parts
Check the arrows, the viewing angle and any small inset drawing before pressing a connection together. A part can look almost symmetrical while having a peg, recess or opening that needs to face one way. Turn the loose part to match the drawing first; that is easier than correcting its orientation after surrounding armor has been fitted.
If the drawing shows an assembly viewed from another side, rotate your work to that view. Do not treat the new camera angle as a command to build a second assembly. Compare an obvious feature, such as an opening or projecting connector, until the object in your hand and the diagram line up.
When a connection resists, stop and check the part numbers, orientation and any gate material left where the pieces meet. Follow the kit’s instructions and the tool maker’s directions when cleaning a cut point. Extra force is a poor substitute for finding the correct direction of fit.
Keep quantity, side and sequence separate
A request to make two assemblies tells you the quantity. It does not automatically mean that both use identical parts or face the same direction. Bandai’s assembly-symbol guidance treats repeated construction, opposite sides, orientation and assembly order as separate instructions.
Read the left and right drawings together before preparing both groups. If their codes differ, keep the parts separate even when the shapes look alike. Build and compare one side at a time when that makes the distinction clearer.
Likewise, an instruction to assemble something first can matter because another piece will trap it in place. Follow the illustrated order through the whole step. If the sequence is unclear, look at the next drawing to understand the finished shape, then return to the step you are completing.
Handle optional equipment after the main assembly is clear
The Mk-II photographs show an assembled model in a display pose. They are useful for recognizing the finished subject, but the instructions supply the order and connections. Keep optional configurations separate from the core assembly so you know which pieces belong to the pose you want.
The Action Base is sold separately for this kit. A stand visible under a finished model is display equipment, not an extra runner hidden in the box. If you want a supported pose, choose a suitable stand only after checking the model’s attachment requirements.
Questions while following the manual
Why can’t I find a boxed number on a runner?
It may refer to an earlier assembly rather than a loose piece. Compare the nearby outline with the completed steps and use the manual’s symbol key to interpret the callout.
Does “make two” mean the left and right parts are interchangeable?
No. Quantity and orientation are different instructions. Check the individual codes and the left/right drawings before removing or joining the second set of parts.
What should I do if a piece won’t fit?
Stop pressing. Check that you have the intended part, that it faces the right way and that the connection is clear of excess gate material. If you need help, the full kit name and the step you are working on give someone a useful place to start.
The kit used for this example

HGBF Build Gundam Mk-II, 1/144
HGBF #004 Build Gundam Mk-II, manufacturer reference 2221156, is the 1/144 kit used in this explanation. Assembly is required, and its Action Base is sold separately.
For the next part of your project, prepare for a first Gunpla build or check a kit or option set’s contents.
Return to the Plastic Model Guides for other assembly and finishing questions.

