

Plastic Model Guides
Pokémon Plastic Models: Build, Finish and Display
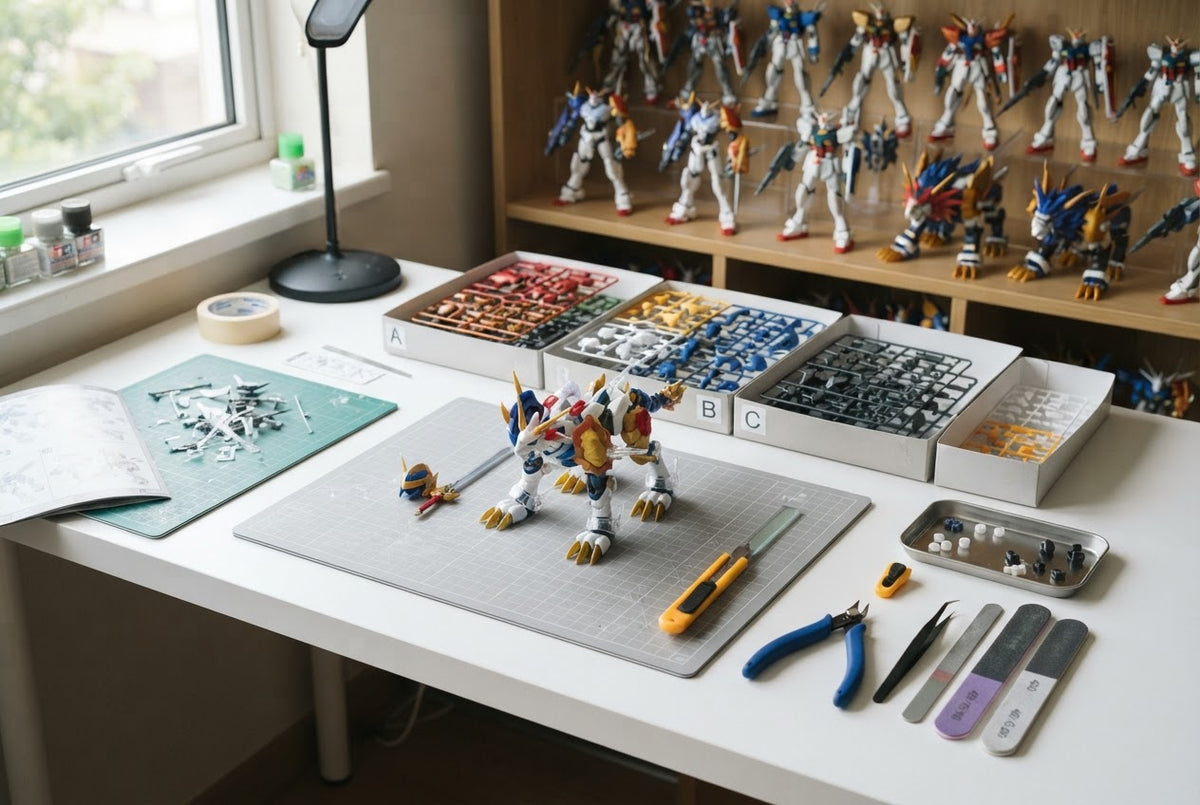
Pokémon plastic models can be built straight from the box, refined like traditional scale models, or arranged as a character collection with a consistent display style. That range is part of their appeal. A simple snap build can preserve the bright, clean look of the source design, while careful seam work, small painted details, and a controlled topcoat can make the model feel more finished without changing its personality.
This guide focuses on the stage after basic kit selection: how to create a cleaner surface, decide which details deserve paint, handle stickers or decals, choose a finish, pose the character, and organize several models so the shelf looks intentional.
Treat Pokémon plastic models as character design first
The silhouette, eyes, face markings, ears, limbs, tail, wings, and signature shapes carry more visual weight than dense mechanical surface detail. Before adding panel lines or weathering, study reference art and decide which boundaries are actually part of the design. A clean anime-inspired finish often benefits from restraint.
Color accuracy matters because viewers recognize the character immediately. If the kit uses stickers for eyes or markings, align those elements before considering optional detail. A tiny misplaced eye is more noticeable than an unpainted seam on the back. Work from the face outward.
Clean seams and gates without damaging colored plastic
Colored plastic can show stress whitening and sanding scratches. Cut gates in two stages, then use fine abrasives that follow the shape of the part. On glossy pieces, polish progressively or restore the surface with an appropriate finish. Avoid flattening rounded cheeks, limbs, or armor-like contours just to remove a small gate.
Not every seam should be filled. Some joints are intentional separations or need to remain movable. Dry fit the model and compare the seam with reference art. If filling is appropriate, make sure the assembly can still be painted and that trapped joints are protected. The companion Pokémon model kits beginner guide covers runner organization and first assembly.
Use paint where it adds the most value
Small color corrections often produce the greatest improvement: claws, mouth interiors, eyes, bands, spots, or the reverse side of a part. Thin controlled coats preserve molded detail. Mask broad boundaries carefully, especially where a bright color meets white or yellow plastic.
A complete repaint is optional. It can create a richer surface and eliminate the slight variation between plastic parts, but it also introduces primer choice, masking, curing time, and joint-clearance concerns. Test products on spare runner material. Flexible or moving parts may not tolerate the same paint system as rigid shells.
Stickers, decals, and clear finish
Apply stickers to clean surfaces with tweezers. For curved areas, warm the part gently in the hands and press from the center outward rather than stretching the sticker. If the kit includes waterslide decals, use a smooth surface and let them dry completely before sealing.
Choose topcoat by the character. Flat finish can create a soft animated look; satin often balances toy-like shine with depth; gloss suits wet, gem-like, or armored effects. Protect clear parts and joints. Spray light coats in a ventilated area and allow adequate curing before reassembly or posing.
Pose Pokémon plastic models for personality
A neutral standing pose is not a failure. It can show the full design cleanly and remain stable. Action poses should follow the character’s center of gravity and joint range. If a foot lifts, use a stand rather than twisting the ankles or hips beyond their comfortable limit.
The Bandai Arceus model kit, for example, has a distinctive ring and long-legged stance. The display should leave clearance around that silhouette and keep the body level. Use the base or shelf to support the pose, not pressure on delicate projections.
Create a consistent Pokémon display
A multi-character shelf looks stronger when bases, spacing, height, and lighting share a rule. Clear risers can prevent small models from disappearing behind larger ones. A pale neutral background makes bright colors readable; a themed environmental base can group characters by region, type, habitat, or game era.
Avoid packing the shelf edge to edge. Leave enough room to remove one model without touching its neighbor. Store alternate faces, hands, effect parts, and instructions in labeled bags. A growing collection of plastic model kits stays enjoyable when the small pieces remain connected to the correct build.
Keep the finish safe over time
Direct sunlight can fade color and yellow some materials. Heat can soften joints or warp thin parts. Dust should be removed with a soft brush and gentle air, not a cloth that catches horns or tails. If the model uses painted joints, move them slowly and watch for rubbing.
Recheck leaning models periodically. Soft joints, uneven feet, or shelf vibration can change a pose. A discreet stand protects the model better than repeated falls. Photograph the finished pose and paint mix so repairs or future matching builds are easier.
Pokémon model finishing checklist
- Prioritize face, eyes, markings, and silhouette before minor surface detail.
- Use two-stage gate removal and fine abrasives on colored plastic.
- Decide which seams are intentional, movable, or suitable for filling.
- Paint only the details that improve character recognition and finish.
- Test paints and topcoats on spare runner material.
- Pose within the stable joint range and use a stand when needed.
- Standardize bases, spacing, lighting, and parts storage across the collection.
Frequently asked questions
What is the difference between Pokémon figures and Pokémon plastic models?
A plastic model is supplied as parts for assembly, while a finished figure arrives assembled and painted or molded for display. Product descriptions should be checked because packaging styles can look similar.
Should Pokémon plastic models be panel lined?
Only where the character design supports it. Heavy mechanical-style lining can overwhelm soft organic forms. Use reference art and keep lines selective.
Can I spray clear coat over stickers?
Sometimes, but compatibility varies. Test the clear coat on a spare sticker or hidden area, use light coats, and allow the adhesive to settle first. Strong solvents can wrinkle or lift stickers.
How do I display models with weak ankles or narrow feet?
Use a compatible stand, clear support, or small base with a discreet peg. A supported natural pose is safer than forcing joints into an extreme angle.
Finish Pokémon plastic models with restraint
Strong Pokémon plastic models preserve the character first. Clean gates, accurate facial details, controlled color corrections, and a stable pose do more than layers of unnecessary weathering.
Choose a finish that supports the design, protect moving parts, and give each model room on the shelf. A consistent collection grows from careful small decisions, not from making every build complicated.

