

Plastic Model Guides
Star Wars Plastic Models: Build, Paint & Display
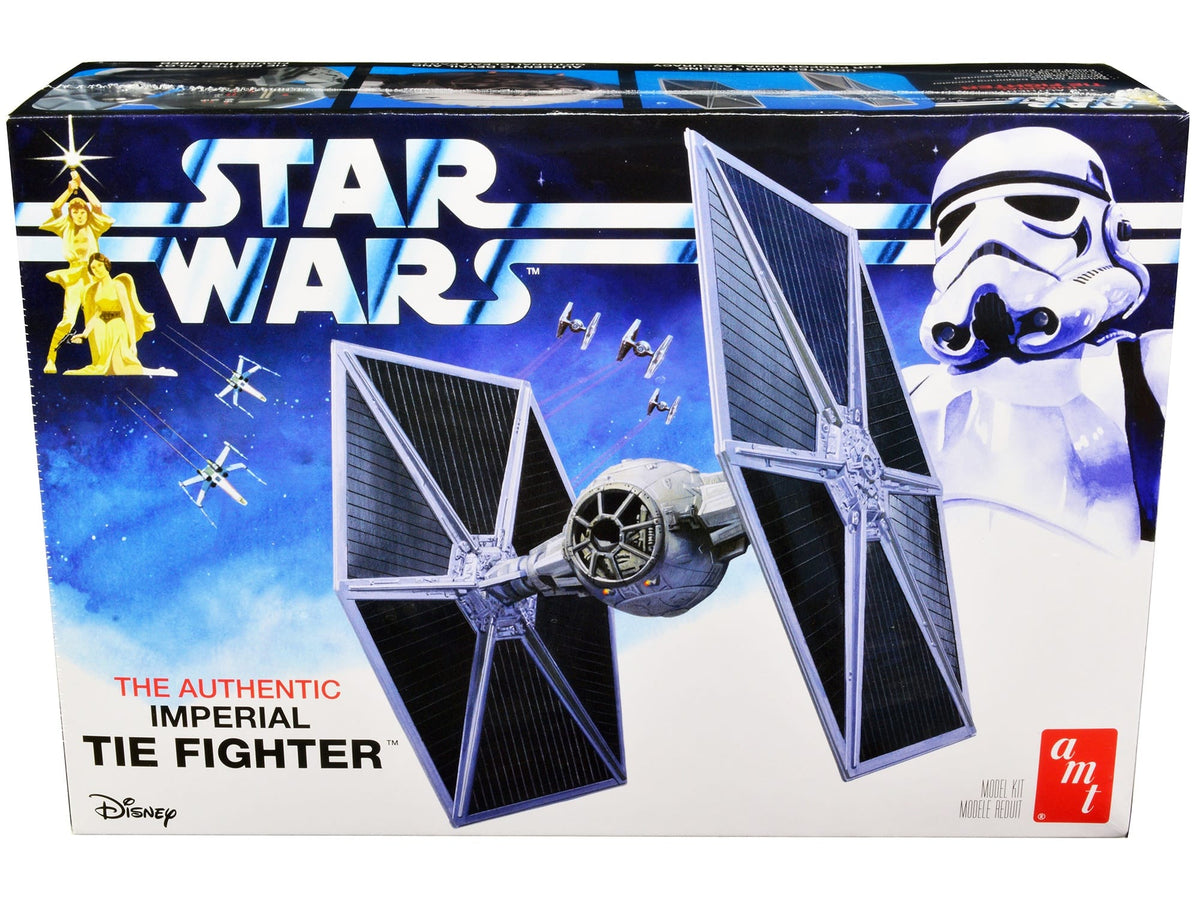
Star Wars plastic models reward a finishing plan built around surface detail, panel variation, weathering, decals, and a display method that suits the subject.
Unlike the companion selection guide, this page focuses on how to build and finish Star Wars subjects after the general kit type has been chosen.
What Star Wars Plastic Models Means in Practice
Finishing Star Wars plastic models is an exercise in visual storytelling. Panel tone, seams, decals, chipping, soot, dust, engine effects, and display lighting should reflect the specific subject rather than one universal weathering recipe.
The best decision is not the one with the longest feature list. It is the one that fits the equipment, workspace, display, skill level, or operating system already in front of you. Exact product identity and compatibility should be settled before price or appearance becomes the deciding factor.
The Decisions That Matter Most for Star Wars Plastic Models
Surface storytelling matters
Clean royal craft, worn rebel equipment, factory-fresh armor, and battle-used vehicles should not receive the same weathering. Use reference images to decide where wear belongs.
Panel variation should stay controlled
Subtle changes in tone can separate panels without making the model look patched together. Build contrast gradually and review it under display lighting.
Decals and markings need a smooth base
Tiny technical markings can silver over rough paint. A suitable smooth surface, careful placement, and patient drying improve the result.
These checks turn a broad shopping phrase into a useful plan. They also prevent close-looking products from being treated as interchangeable when scale, construction, electrical design, release identity, or intended use says otherwise.
How to Compare the Available Options
Use the following filters in order. Starting with fit and compatibility keeps an attractive but unsuitable item from becoming an expensive detour.
Define the condition
Factory-clean, parade-ready, used, desert-worn, and battle-damaged subjects need different finishes.
Control panel contrast
Subtle tonal shifts preserve scale better than random high-contrast patchwork.
Place wear logically
Edges, service panels, foot traffic, exhaust, weapons, and leading surfaces tell different stories.
Integrate the base
A stand, landing surface, or small scenic base can reinforce the setting without competing with the model.
A Practical Plan Before You Buy or Build
Good hobby results usually come from a short written plan. The plan does not have to be complicated; it only needs to capture the decisions that become difficult to reverse later.
- Collect reference images and decide the model’s condition.
- Complete seams and surface preparation before color variation.
- Apply primary colors and restrained panel modulation.
- Add markings, washes, chips, soot, and dust in separate stages.
- Review the finish under the lighting used for display.
After the first test, write down what worked. A simple note about fit, color, track geometry, setup, handling, or compatibility becomes valuable when the project expands or a similar item is considered later.
Common Mistakes to Avoid
- Applying the same weathering to every faction or vehicle.
- Using heavy panel lines that overpower the scale.
- Chipping random areas without a wear story.
- Sealing decals or effects before compatibility and cure are confirmed.
Another frequent mistake is treating a product photograph as a complete specification. Photographs help confirm appearance, but the live title, scale, model number, contents, compatibility notes, and manufacturer instructions are the details that settle the purchase.
Who This Guide Is For
This guide is for a first-time builder choosing a manageable project, an experienced modeler comparing a new subject, or a gift buyer trying to match a kit to the builder’s tools, patience, paint experience, and display space.
Before choosing a kit, inventory the builder’s cutters, files, adhesives, paints, masking supplies, decal tools, available work time, preferred subjects, and finished display space. The right project should stretch one skill without demanding an entirely new workshop.
Explore Star Wars Plastic Models at Muncle Mike’s
Current inventory can change, so use the live product pages to confirm price, availability, included parts, scale, color, and shipping details. The links below lead only to Muncle Mike’s products and searches related to this guide.
- AMT Imperial TIE Fighter model kit
- shop Star Wars Plastic Models
- shop Star Wars model kits
- shop model paints
Frequently Asked Questions
How much weathering should a Star Wars model receive?
Enough to support the specific subject and scene. Some vehicles are heavily worn; others look better with restrained panel shading and a few logical marks.
Can snap-fit Star Wars plastic models be painted?
Yes. Dry fit first, protect tight joints, and check paint compatibility with the plastic and any moving parts.
When should decals be applied?
After the color finish is ready and sufficiently cured, typically on a smooth surface appropriate to the decal system.
How can large flat panels avoid looking plain?
Use subtle tonal variation, careful panel lining, selective wear, and lighting rather than one heavy effect.
The Bottom Line
Star Wars Plastic Models — A rewarding kit matches the builder’s subject, skill, tools, time, finishing plan, and display space. Choose the project deliberately, inspect the exact release, dry fit before committing, and let careful sequencing create the final quality.
See Muncle Mike’s current Star Wars Plastic Models selection

