

Hot Wheels How To
How to Make Your Own Hot Wheels: DIY Kits, Parts & Steps
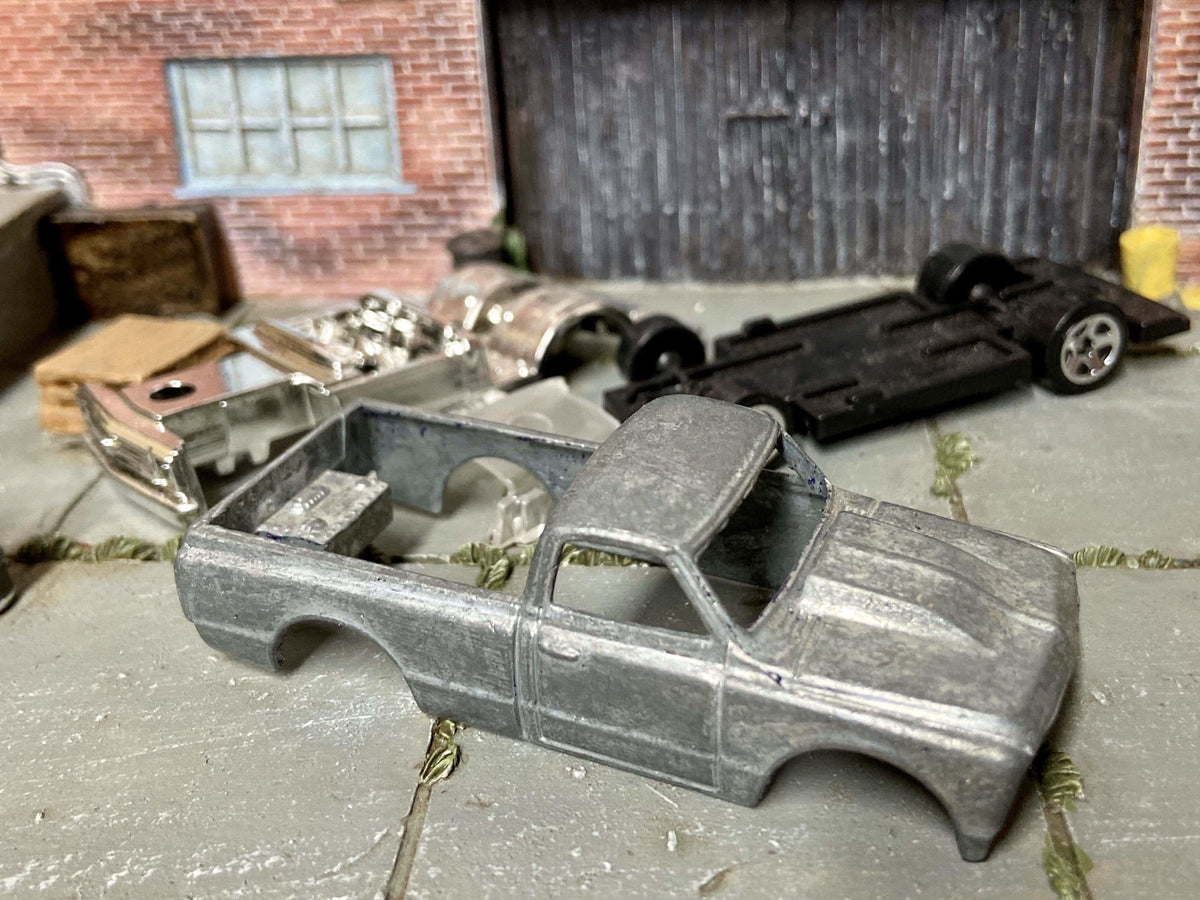
You can make your own Hot Wheels by choosing a project casting, planning the changes, and buying parts that suit that specific car. Start with a manageable project: a prepared DIY project, a simple finish, and a measured wheel setup. Buying the parts online is the beginning; the physical build is completed at your workbench.
Shop Build Your Own Hot Wheels DIY kits and compare wheels and rubber tires.
Can you make your own Hot Wheels car online?
You can select a casting and order DIY kits, wheels and other supplies online. MM's DIY products are physical customizing projects, not a digital 3D configurator or a promise that a requested full-size vehicle can be manufactured as a new miniature casting.
If you want the finished car instead of doing the work, browse completed custom Hot Wheels. If you want an ongoing project, compare the DIY Customizer Club.
Choose a project you can finish
- Wheel swap: keep the donor's existing appearance and change the wheels after checking axle access.
- Prepared-body project: choose a stripped DIY kit and concentrate on paint, detailing and assembly.
- Full custom: plan body changes, paint, decals, wheels and retention as separate steps.
A first build is easier to diagnose when you change fewer things. Choose a common donor you are comfortable modifying rather than a potentially valuable original. A car's represented model year does not by itself establish its Hot Wheels release year or collector value.
Two donor examples with different wheel references
The 1967 Chevy C10 Pickup DIY kit is listed as stripped and ready for paint, with a click-together design. Its factory wheel-size reference is 10mm front and 12mm rear, and custom wheels are sold separately. Compare the actual replacement width, axle dimensions and clearance before ordering a staggered set.

The 1964 Chevy II Nova Gasser Wagon DIY kit also lists a 10mm/12mm factory reference, but that does not make its chassis identical to the pickup. The wagon body, interior and axle arrangement still need their own fit checks. Read each listing for the supplied pieces and component variations.


Build a parts list before checkout
Separate the donor purchase from the upgrades and workshop supplies. A kit name does not mean every tool or finishing material is included.
- project casting and the components explicitly supplied with it.
- Replacement wheels and tires in the required quantities.
- Axles and retention hardware, where separately required.
- Compatible primer, color coat and optional clear coat for the chosen finish.
- Optional decals or detail supplies.
- Suitable tools, protective equipment and a parts tray.
The monthly DIY Customizer Club excludes wheels, tires and axles. Its current listing also says tools and finishing supplies are not included. Verify the current product page before subscribing, because this guide does not freeze future terms. Do not confuse its monthly DIY-project-and-guidance format with a complete wheel-swap kit.
Measure wheels before buying a style
Record complete outside tire diameter, installed width, axle span and inner-hub clearance front and rear. A “1:64” label does not specify those dimensions. The green four-spoke wheel set is listed with four 10mm wheels and rubber tires; that establishes its listed size and quantity, not guaranteed fit on your chosen pickup or gasser.
Use the replacement wheel and rubber tire fitment guide to compare measurements. Confirm unspecified axle hardware before ordering. Resolve fit before paint so a last-minute clearance change does not damage the finished body.
Step-by-step DIY build plan
- Document the starting parts. Take underside photos, organize the interior, windows and base, and keep small pieces together.
- Dry-fit the concept. Check the body, base and proposed wheel assembly together. Confirm the intended stance on a flat surface.
- Prepare the surface. Follow the selected finishing products' instructions for the body material. Keep windows and other separate components out of the finishing process.
- Apply a compatible finish. Use the coat sequence, ventilation and drying or curing times specified by the products you actually use. Test unfamiliar combinations on a spare surface.
- Add details deliberately. Test decal and clear-coat compatibility rather than assuming one system suits every material.
- Reassemble carefully. Follow the particular kit's assembly method; avoid pinching wheels or contaminating the axle with adhesive.
- Check the result. Inspect paint, tire seating and retention, then gently roll-test for rubbing, wobble and loose wheels.
Cutting, drilling and finishing chemicals need adult handling, appropriate protection and a secure workpiece. Follow tool instructions and product labels. Continue to the detailed customizing guide for a broader project sequence.
Common first-build mistakes
Buying wheels before the donor: the chosen car determines the clearance and axle requirements. Painting before dry-fitting: fit problems become harder to fix neatly. Assuming every supply is included: read the specific listing. Calling a modified car factory-original: keep a record of the changes and describe the finished result accurately.
Build Your Own Hot Wheels FAQs
Are prepared DIY kits already finished cars?
No. They are starting points for the customer's project. Use the listing to distinguish preparation, supplied parts and upgrades sold separately.
Do I need to repaint for a wheel swap?
No. A wheel-focused build can retain the existing body finish if the selected installation method allows it.
Can I choose a specific vehicle?
For an individual DIY purchase, choose the casting named in the product listing. Monthly subscription selections are a different format and do not guarantee your requested model.
Where should a beginner start?
Choose a donor you like, limit the first project to a few changes, and confirm the parts list before checkout.
Start your next build
Choose a DIY Hot Wheels kit, select measured wheel-swap parts, or compare the monthly DIY and collecting clubs.
An individual project kit and the monthly club are different purchases
An individual DIY listing lets you select the named casting, such as the C10 pickup or Nova Gasser wagon shown here. The monthly DIY Customizer Club supplies one loose 1:64 project casting selected for that shipment, a project idea, digital guidance and a QR link. Its current listing excludes wheels, tires, axles, installation hardware, paint, adhesive and workshop tools.
| Purchase | What you choose | What to confirm separately |
|---|---|---|
| Individual DIY kit | The named project casting | Supplied components and the selected kit’s assembly notes |
| Monthly DIY club | The recurring project format | Current shipment terms and all excluded build supplies |
| Finished custom | The photographed completed car | Actual modifications, condition and included accessories |
Do not copy a wheel recommendation from a finished car into the parts basket for a different donor. The C10 and Nova share a listed 10mm/12mm factory reference, but their body and chassis still require separate clearance and axle checks. Choose the donor first, list the missing parts second and finish only after dry-fitting. If you want the completed result without workshop work, use the finished custom collection.

