

News
Airfix Stalwart A1381: What to Expect From the 1:35 Truck Kit
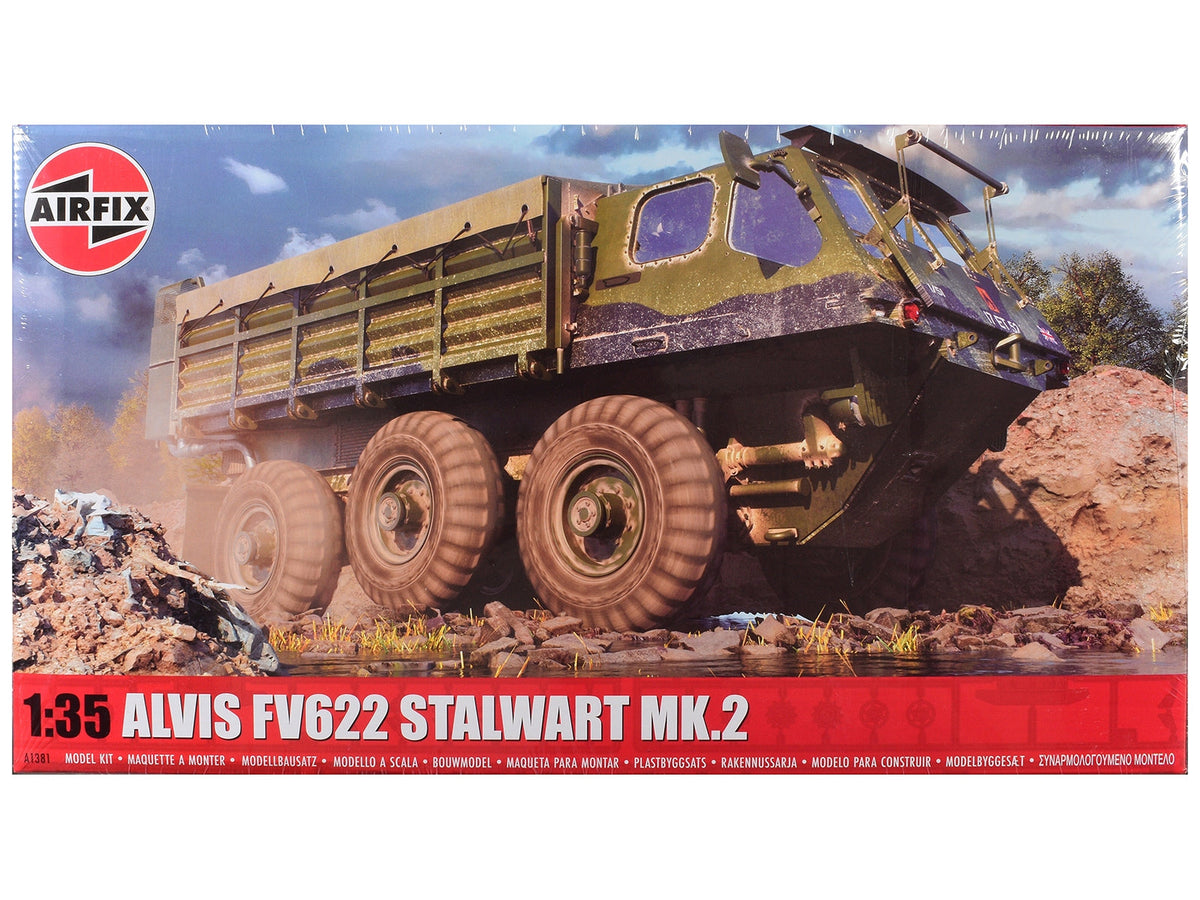
Airfix’s Alvis FV622 Stalwart Mk.2 A1381 is a 1:35 plastic kit with 211 listed parts and three marking schemes. Plan it as a build in stages, with painting and finishing as part of the project. It arrives as a kit, rather than a finished truck.

Identify the exact Stalwart before choosing accessories
The Stalwart Mk.2 kit, item AIRA1381F uses Airfix base code A1381 and carries Skill Level 3. Keep those identifiers together when comparing listings.
Airfix lists the plastic kit, instructions, paint layout and decals. The product listing also states that a display stand is not included. Choose this project for its six-wheel vehicle and detailed running gear; the skill rating is not an age recommendation or a completion-time estimate.
For accessories, check FV622, Mk.2 and 1:35 rather than a general military-truck label. Parts intended for another maker’s Stalwart may be designed around a different kit.
Choose the vehicle kit first, then add aftermarket pieces when you know how they fit and what you want them to change.
What a 211-part build means for your workbench
Read through the instructions before starting. Plan the main assemblies, small details and finish, noting which pieces can be painted separately and which need access later.
Keep similar parts labeled and remove small pieces as you need them. Preparing one assembly at a time is easier to manage than a tray full of unidentified components.
The part count alone does not tell you how many hours your project will take. Reserve separate sessions for the cab, running gear, body details and finish, with a protected place to leave the work while adhesives and paint cure.
Four instruction stages worth reading ahead
- Cab interior: the instrument decal appears at step 16, before the cab closes. Plan interior paint and access while those parts are exposed.
- Running gear: steps 39 and 54 show an assembly order and specific joints that must remain free of glue. Several hub parts look similar but carry different numbers; keep them with their assigned positions.
- Windows: step 74 fits the clear cab pieces after the main cab structure. Plan how to protect them during the remaining paint and handling work.
- Final details: steps 89–100 cover the wheels, lights, mirrors and cargo cover. Read this sequence before using a small projecting detail as a handhold.
Test the fit of each assembly before adding cement, and use the instruction drawings to check its orientation. If a joint resists, stop to check the part number and remaining sprue attachment rather than forcing it. Follow the tool and adhesive directions; younger builders need suitable adult supervision for cutting, drilling and small parts.
Three marking schemes, one truck
Choose one of the three marking schemes before buying paint or committing to optional details in the instructions.
The schemes are choices for one truck. The product listing describes the main molded parts as light brown; the finished gallery models show paintwork you must create. Paint and model cement must be supplied separately.
If you want to represent a particular Stalwart, compare that vehicle with the scheme options. Check the contents list separately from the box illustration for any cargo or scenery you hope to include.
| Scheme | Vehicle represented | Visible finish to plan |
|---|---|---|
| A: 17ET52 | British Army of the Rhine, Exercise Spearpoint Crusader, West Germany, 1980. | Green and black camouflage with this vehicle's registration and unit markings. |
| B: 17ET86 | D Squadron, 4th Royal Tank Regiment, British Army of the Rhine, West Germany, 1981. | Green and black camouflage with the distinctive DINNET name and eye markings. |
| C: 20ET23 | Royal Army Ordnance Corps, Ludgershall Vehicle Depot, England, 1969. | A plain bronze-green body rather than the black camouflage patches of A and B. |
The choice affects construction as well as decals. Steps 18 and 75 distinguish scheme B from A/C, and step 32 gives scheme C a different exhaust part. Mark your chosen branch before cutting those pieces from the sprue.


Reserve the right scale and footprint
The quoted model size is approximately 7.25 inches long and 3.54 inches wide. Allow extra room for a base, handling and any projecting details in your chosen configuration.
The 1:76 British Army GS truck is a much smaller scale. Both are military-truck subjects, but they will not look proportionate beside each other in a realistic scene.
Start with 1:35 when looking for figures, cargo and buildings, then compare the actual dimensions and setting. A scale match is the first check, rather than the whole fit check.
The GS truck is a useful alternative when a compact military vehicle is the goal. It is not a smaller Stalwart, and it does not supply parts for A1381. Compare the subject you want to finish as well as the space you have.
Separate the real vehicle's role from model functions
Plan the Stalwart as a static display. Its full-size amphibious role does not give this kit a listed ability to float, drive or operate in water.
Check the construction instructions before expecting working suspension, powered wheels or repeatedly opening panels. Build around the features the kit supports.
For a display pose, steps 83–84 show the front trim board stowed or deployed, and step 85 offers hatch positions. Choose the pose that suits your scene and follow its parts. An open hatch or deployed board illustrates the real vehicle; it does not establish that the finished model can be operated in water.
Who should shortlist A1381?
Choose it if the Stalwart Mk.2 is the subject you want and you enjoy a staged 1:35 vehicle build. For a smaller Army-truck project, compare the 1:76 Land Rover and GS-truck guide.
Choose an Airfix vehicle project for your next build
Questions before starting the Stalwart
Does Skill Level 3 make this a suitable first model?
Airfix positions it for experienced modelers. A beginner who specifically wants the Stalwart should be ready to learn small-part preparation, alignment, paint and decals over several sessions. A shorter parts list elsewhere does not by itself guarantee an easier project; choose tasks you want to practice.
Do I need every part for my chosen scheme?
No. The instructions include alternatives, and some pieces are not used for the chosen configuration. Keep unused parts labeled until the build is complete. Do not fit a spare-looking item simply because it remains on the sprue.
Can I postpone the finish choice until assembly is complete?
That risks closing access or fitting the wrong optional part. Choose A, B or C first, then prepare the scheme's paint list and follow its construction branches. The clear windows and cab interior also need a paint plan before the whole vehicle is assembled.
Will any 1:35 truck accessory fit?
No. Scale alone does not establish the attachment, clearance or historical match. Check whether the accessory names this Airfix Stalwart Mk.2 kit and which parts it replaces. For generic cargo, compare actual dimensions and the scene you intend to portray.

