

Hot Wheels
Build Your Own Hot Wheels Truck: First Pickup Project Checklist
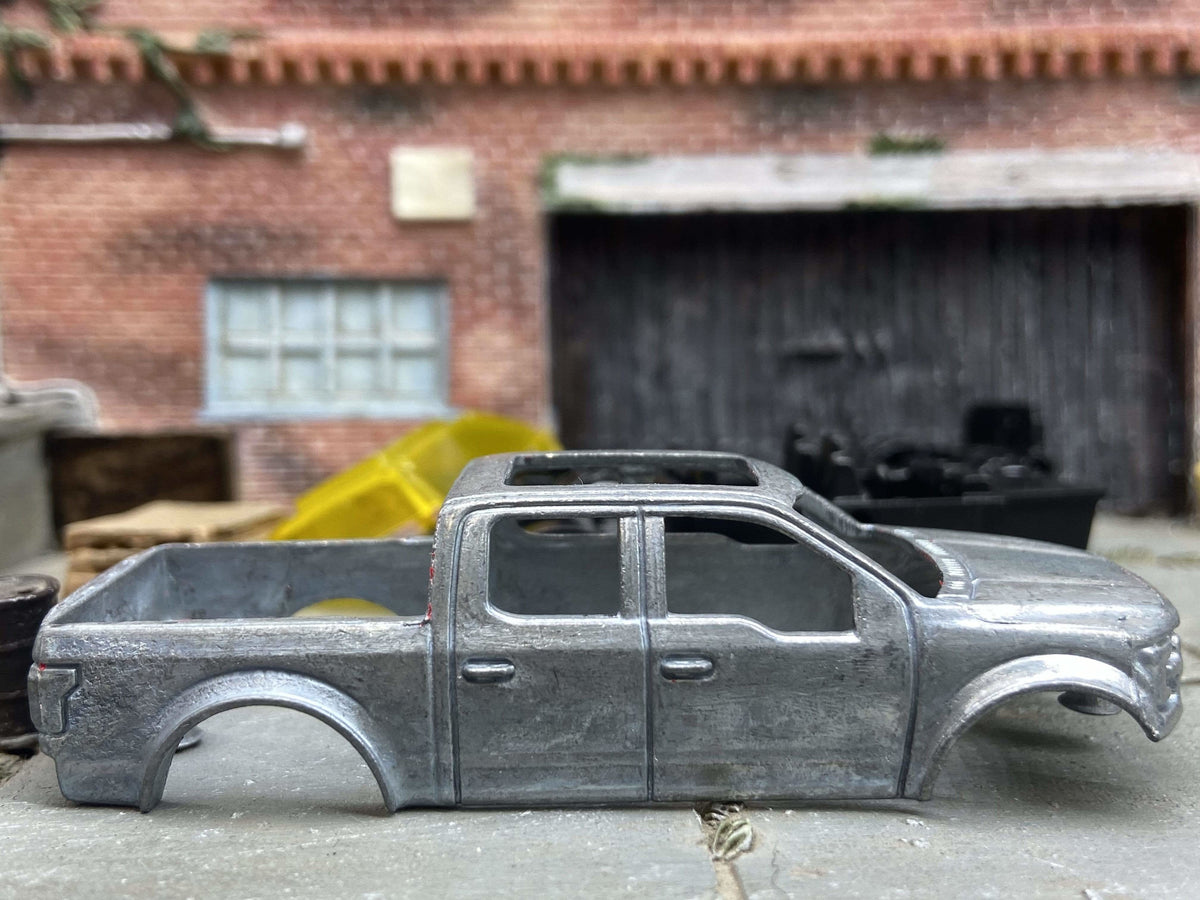
Make the first pickup a project you can finish.
To build your own Hot Wheels truck, choose one body style and a limited first goal. A clean body finish with a compatible wheel setup gives you a complete project without inventing a new chassis, working suspension or electronics.
This checklist uses the prepared F150 donor sold by Muncle Mikes. For a wider casting comparison, use the C10, F150 and Silverado donor guide.
Header: the F150 donor listing, not a completed custom or a full workshop kit.
Start with the donor's actual preparation
The product listed as the 2015 Ford F150 4x4 DIY kit is described as stripped and ready to paint, with a click-together assembly approach. Its description gives 10 mm / 10 mm wheel-size guidance and notes that original wheel style, interior color and window color may vary.
Inspect the received pieces and read the current assembly notes. The current DIY kit record does not list custom upgrade wheels, tires or axles as included; finishing products and tools are also separate. Choose an adhesive or fastening approach suitable for the actual materials rather than assuming all model glues behave alike.
Keep the donor's original pieces together until you understand how they locate. A photograph before painting makes it easier to recognize a misplaced component during final assembly.
Choose the truck body before the wheel style
Pickup and mini-truck customs have very different proportions. Start with the donor, then choose a wheel setup that fits that body.

Modern pickup donor
2019 Ford Raptor DIY kit
A taller truck body for a different stance and wheel-clearance problem than a low car.

Classic truck donor
1978 Dodge D100 DIY kit
A classic pickup route for a more traditional truck custom.

Finished mini-truck
Mazda REPU custom
A finished example showing how wheel choice changes the stance of a compact truck casting.

Wheel option
Black & gold 10 mm wheels
A four-wheel 10 mm set to compare only after the truck donor's width, axle and clearance measurements support it.
Use four checkpoints before calling the build finished
| Stage | Continue when | Stop and check when |
|---|---|---|
| Inventory | The donor pieces and required supplies are identified. | A needed part is missing or its role is unclear. |
| Dry fit | The body, interior and wheels fit together as intended. | A tire rubs, the base needs force or the axle is insecure. |
| Finish sample | The selected preparation and paint system works on a suitable sample. | The coating reacts, obscures details or fails to cure as instructed. |
| Final inspection | Parts are secure, clearances remain and the intended stance is consistent. | A wheel wobbles, a locating surface is obstructed or a component is loose. |
These are project checkpoints, not a timed recipe. Fix a fit problem before covering the body in a finish you will have to disturb later.
Choose the wheel setup before painting
Measure complete tire diameter, width and axle spacing at both ends. The donor's 10 mm / 10 mm guidance gives you a size combination to investigate, but not every wheel with that label has the same hub or installed width.
The black five-spoke set lists four 10 mm wheels with fitted rubber tires; the record does not confirm supplied axle hardware. Compare its actual hardware and dimensions with the donor; it is sold separately and is not represented as a physically tested bundle with this F150.
Place the body and interior in their finished positions for the clearance test. Inspect near wheel openings, steps and the inner wheel faces. Use the troubleshooting guide to locate rubbing before cutting material away.
Keep the first finish simple and consistent
Choose a body color and a small number of trim details you can apply cleanly. Match preparation, primer, color and any clear coat to the material and product instructions. Practice the whole combination on a suitable sample.
Keep paint out of locating surfaces and moving wheel components. Follow curing and recoating instructions instead of assuming every finish is ready after the same interval. Do not use improvised heat to hurry the process.
Adults should handle powered tools, sharp axles and chemical products with suitable protection and ventilation. A small casting needs a secured workpiece for cutting or drilling, not a loose grip close to the tool.
Assemble and record what you made
Check the windows and interior before fastening the base. Inspect the pickup from both sides and underneath, then confirm the intended contact points on a flat surface. Roll it gently when rolling is part of the goal.
Record the donor, replacement wheels and finish work. Describe it as a custom rather than a factory variation. A display-oriented stance does not establish tested off-road or racing performance.
For the complete preparation-to-assembly sequence, read the general custom Hot Wheels build guide.
Start with the truck and build a compatible plan around it.
Product pages provide current prices, availability and the pieces included in each kit.
Pickup build hub
Compare the broader C10, F150 and Silverado DIY guide, the 1967 Chevy C10 guide, and the general DIY build guide.

