

Hot Wheels
Hot Wheels Customizing Starter Kit: Tools, Donors & Supplies Checklist
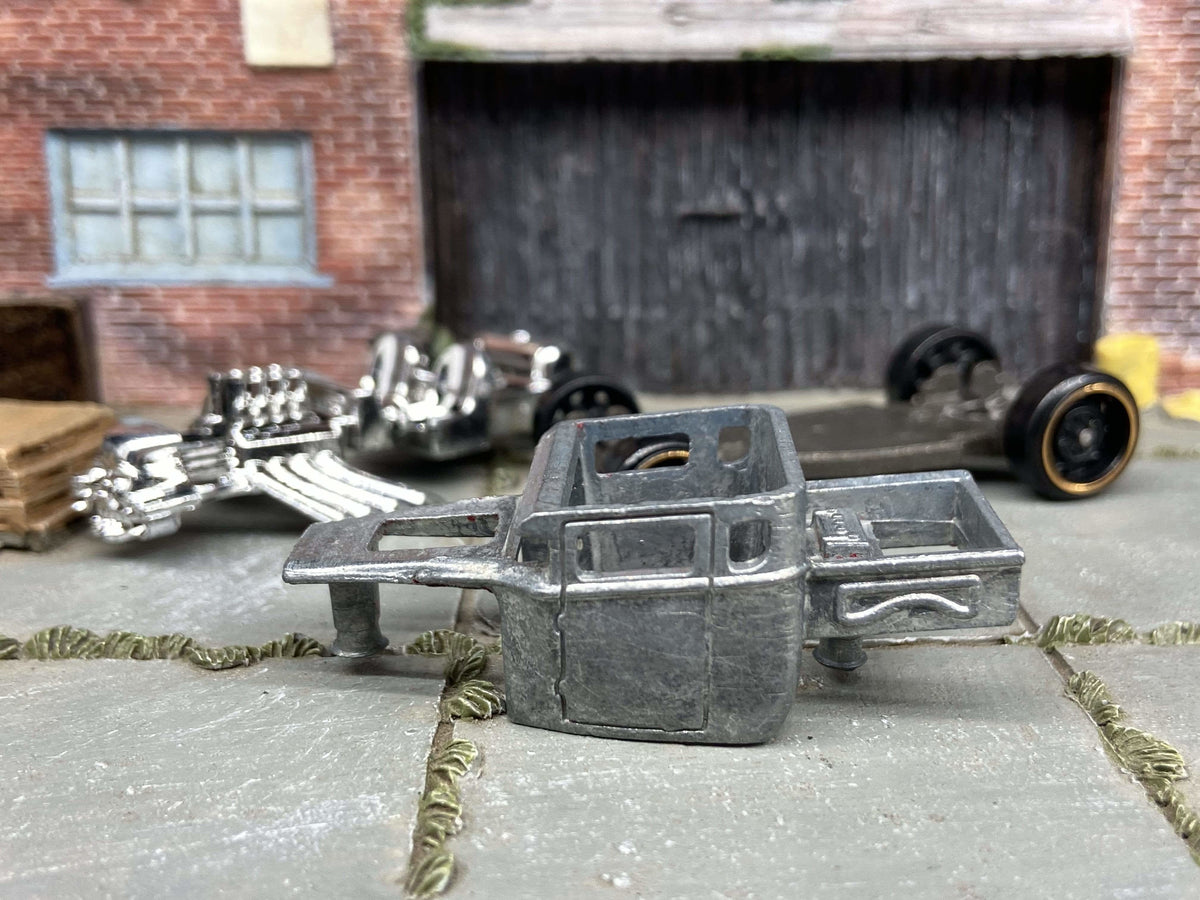
Set up for one good first build.
A useful Hot Wheels customizing starter kit is a project plan plus the parts and tools needed to complete it. You do not need to buy every hobby tool before deciding whether you want a wheel swap, a simple repaint or a more involved custom.
Start with a donor you like. Check what the selected product actually includes, then assemble the supplies around that job. A prepared DIY kit and a complete workshop toolkit are different things.
Header photo: a Bone Shaker donor, not an all-tools-included box. Tool categories below are a planning checklist, not a claim that every tool is sold by Muncle Mikes.
Choose the job before choosing the toolkit
| First project | Plan to have | Can wait until needed |
|---|---|---|
| Wheel-only change | A suitable donor, measuring tools, compatible wheels and the hardware/tools needed by the chosen axle method. | Paint equipment, decal supplies and body-modification tools. |
| prepared DIY project repaint | The donor's stated pieces, suitable preparation and finishing products, an appropriate holder and the chosen assembly supplies. | An airbrush or complex multi-color masking setup when a simpler tested method meets the goal. |
| Decal and detail project | A compatible finished surface, the correct decal type, positioning tools and manufacturer-directed application supplies. | Body cutting or a complete replacement chassis. |
| Bare-metal polish | A suitable bare-metal body and a controlled polishing method with the required protective equipment. | Powered polishing equipment until you understand the material and can secure the work. |
Keep your first goal small enough to inspect at every stage. Changing the body, axles, wheels and paint system at once creates several possible causes when something does not fit or finish correctly.
A starter workstation checklist
Organize and measure
Use a clear work surface, a clean nonabrasive support and a parts tray. Label the donor's pieces before mixing them with replacements. Keep a ruler or suitable caliper available for tire and axle comparisons; save front, side and underside photos of the original assembly.
Choose hand tools for the actual fasteners
Check how the donor is assembled before buying a tool set. A factory-riveted body, a prepared click-together kit and a screw-fastened custom do not call for the same release method. Do not pry against the body because a generic toolkit happens to contain a screwdriver.
Match protection and workspace to the process
Read instructions for the tools, paints, adhesives and cleaners you intend to use. Plan a secured workpiece for cutting or powered work, suitable eye protection, appropriate ventilation and adult handling. Keep chemicals and small parts away from food, children and pets.
For powered polishing, Dremel advises supporting the work, practicing first and avoiding excessive pressure. Consult the actual tool and accessory instructions rather than selecting one operating speed for every task. [1]
Add finishing supplies only after choosing a system
Identify the body material and intended finish. Match surface preparation, primer, color and any clear coat as a tested sequence. A sample donor is a better place to find a compatibility problem than the car you have already detailed.
The step-by-step custom build guide explains the order of dry fitting, finishing and final assembly.
Start with a prepared DIY project—or keep the original finish
A prepared DIY project can make sense when you intend to repaint the body. Our Bone Shaker DIY kit and ’55 Chevy Gasser DIY kit are described as stripped and ready to paint. Read each listing for the original components, possible variations and assembly notes.
For a wheel-only change, retaining a common donor's existing finish is another route. Inspect its axle access and fastening arrangement first. Our no-drill wheel-swap guide explains why no-drill does not necessarily mean reversible.
Custom wheels, rubber tires, upgrade axles, paint and tools are not automatically supplied with a DIY kit. Check the selected product's contents and keep its original-component descriptions distinct from the separate upgrades you choose.
Four useful ways to start a first custom
A starter setup does not need to be a giant box of tools. Pick the project route first, then buy only the donor and parts that route requires.

Classic project
Nova Gasser wagon DIY kit
A prepared bare-metal DIY project for a builder who wants paint and assembly to be part of the project.

Muscle-car project
1967 Shelby GT500 DIY kit
Another prepared DIY project with a different body style, useful when the finished look matters more than following one generic starter recipe.

Wheel-only route
Black 10 mm wheel set
If the donor's original paint is staying, a measured wheel swap can be a smaller first project than a full repaint.

No workshop needed
Finished Mercedes AMG GT3 custom
When the goal is the finished display car rather than the process, a completed custom is the simpler purchase.
Build your shopping list in four passes
- Write the finished goal. Name the casting and the main change you want to make. A clear goal tells you which supplies can wait.
- List the donor's included pieces. Use the product description, not an illustration from a different kit. Note any unspecified component you need to confirm.
- Record what you already own. Separate reusable tools from paint, adhesive and other consumables. Check their condition and instructions before treating them as ready to use.
- Add only the missing compatible parts. Match wheel quantity, tire size, axle arrangement and assembly requirements. Include shipping when comparing the full project cost.
For package types, use the custom parts buying guide. For dimensions, the 1:64 wheel measurement guide provides a worksheet.
A starter kit as a gift
Confirm whether the recipient wants to build or simply display a car. A donor-only gift still needs appropriate finishing and assembly supplies. Check age guidance, small-part warnings and whether an adult will handle the tools. A finished custom is the clearer choice when a workshop project is not the goal.
Hot Wheels starter-kit FAQs
Is an airbrush essential?
Not for every project. Select a finishing method suited to your goal and workspace; a wheel-only change does not require painting equipment.
Do I need a drill for a prepared DIY kit?
Check that kit's preparation and assembly instructions. Do not assume a tool requirement from a different donor or a factory-riveted model.
Can I buy one wheel set for all my future builds?
Do not treat one size as universal. Compare each donor's front/rear measurements, axle arrangement and available space.
Does “ready to paint” mean every preparation step is done?
Inspect the body and follow the chosen finish's preparation instructions. It describes the donor's starting condition, not a guarantee for every coating.
Where can I buy the actual donor and wheels?
Browse DIY Hot Wheels kits and replacement wheels and tires. Read the selected listing before adding related items.
Choose a manageable project and build from there.
Ask about a donor's included components when a needed detail is missing.
[1] Dremel: cleaning and polishing precautions. General tool guidance does not establish suitability for every diecast material or finish.
Beginner customizer path
Start with the Make Your Own Hot Wheels guide, then choose a DIY Hot Wheels kit and only the wheels and tires your project actually needs.

