

News
Hot Wheels Wheel Swap Master Guide: Plan, Fit & Finish
From a project car to a custom that fits together.
A successful Hot Wheels wheel swap starts before the original wheels come off. Choose the donor, measure the available space and decide how the new wheels will be secured. Then test the complete assembly before final paint or fastening.
Use this master guide to organize the project. The linked demonstrations and specialist guides cover the individual decisions without pretending one tool size or wheel set fits every casting.
Write the project plan before buying parts
| Decision | Write down | Confirm before continuing |
|---|---|---|
| Donor | The casting, condition and pieces you intend to keep. | Whether it is appropriate to modify rather than preserve. |
| Finished goal | Wheel-only change, repaint or a more involved custom. | The look and intended rolling or display use. |
| Parts | Front/rear wheels, tires, axles and required hardware. | Exact quantities and compatible measurements. |
| Access | How the original assembly comes apart. | How the new assembly will be secured afterward. |
| Finish | The selected preparation and coating system, if repainting. | A successful sample and the product instructions. |
| Final checks | Alignment, attachment, clearance and rolling observations. | The car meets the goal you originally chose. |
For a first build, keep the scope limited enough that you can identify what caused a problem. A wheel-only change is a complete project when the original body finish already suits your idea. If you choose a DIY Customizer Club project, remember that its recurring package covers the prepared DIY project project and does not include custom wheels, tires or axles.
The donor-selection guide helps compare candidates. A prepared DIY project can simplify the starting point, but still has its own contents and assembly requirements.
Measure the wheels, tires and axles as a system
Record the complete tire outside diameter and width, the space between the inner wheel faces, and the axle dimensions and retention method. Measure the front and rear separately. Confirm which dimension a seller's millimeter label describes.
A 1:64 label is a scale category, not a hardware standard. A wheel that looks right from the side may still have an incompatible hub or touch the base behind it.
Use the wheel measurement worksheet for the detail. For styling, compare the rim finish and stance guide after the mechanical requirements are known.
Build the parts list around one donor

Donor
1970 Chevelle SS DIY kit
Choose the casting first so the rest of the measurements have a real reference.

Matching-size wheels
Green 10 mm wheel set
A four-wheel option when the donor supports matching 10 mm assemblies.

Staggered option
Gold 10/12 mm wheel set
A different front/rear arrangement for donors whose intended stance and clearance suit it.

Choose a wheel package by its actual contents
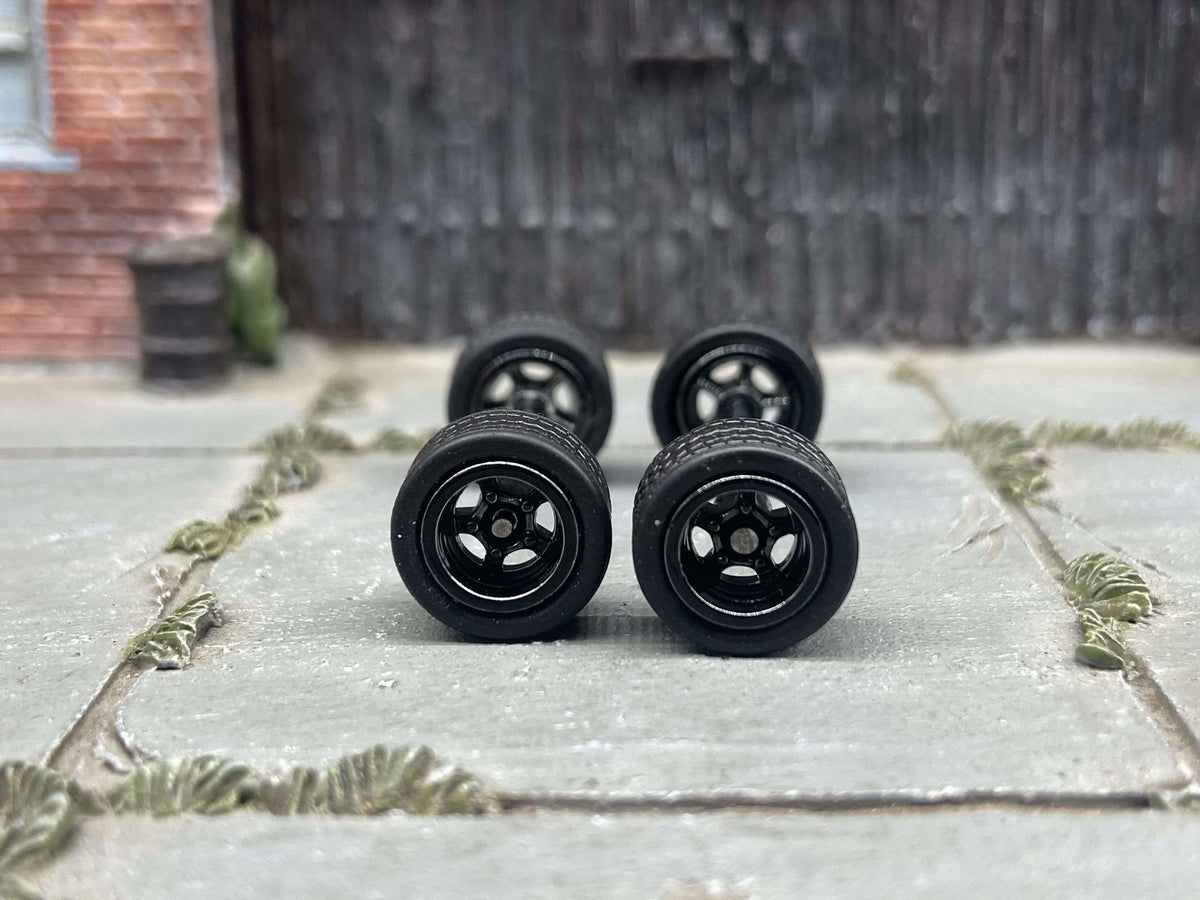
The black five-spoke set lists four 10 mm wheels with rubber tires. The pink staggered set expressly lists four wheels, four tires and two axles in a 10 mm / 12 mm combination.
Those are different packages, not interchangeable guarantees. Check whether the included axles fit the donor. For a tire-only purchase, the wheels must already provide a compatible tire seat.
The wheel-swap kit buying guide explains the quantities and hardware to check before ordering.
Decide how to access the axle without forcing the car
Inspect the underside and the fastening arrangement. A factory-riveted body and a prepared DIY project can need different methods. Photograph the original assembly and protect vulnerable windows, graphics and small details.
A no-drill method can leave body posts intact while still cutting an axle or altering retaining tabs. Read the no-drill demonstration and guide before treating it as reversible.
Powered work requires a secured workpiece, appropriate protection and adult handling. Follow the actual tool's instructions; a small casting should not be held loosely against a cutting or drilling tool.
Dry-fit before paint or final fastening
- Seat the proposed wheels and tires without forcing incompatible parts.
- Place the body and interior in their final positions.
- Inspect both sides and underneath for tire or inner-hub contact.
- Check straight alignment, secure retention and even tire seating.
- Test gently on a level surface and record any rubbing, wobble or loose attachment.
Diagnose the contact point before removing more material or buying another style. The wheel-swap troubleshooting table helps separate clearance, alignment and hub problems.
For an example built around a specific casting, use the ’55 Chevy Gasser demonstration or Bone Shaker wheel-swap guide. The demonstrated donor is not proof of compatibility with every later version.
Finish the body only after the assembly plan works
For a repaint, keep vulnerable components out of the finishing process and use a compatible preparation, primer and coating system. Test the complete combination on a suitable sample. Follow curing and recoating instructions rather than a universal drying time.
Keep finish buildup off locating surfaces and adhesive away from rotating wheel parts. The paint, decal and assembly guide covers the full sequence. Bare-metal polishing is a separate process, not routine cleaning for intact factory paint.
Inspect and document the completed custom
Compare the finished car with your original photographs and intended goal. A display-only build should be described as such; a racing-performance claim needs testing of the actual setup rather than an assumption about tire material.
Record the donor and modifications. A new wheel set does not create a factory Treasure Hunt, prototype or untouched original. Retain removed original parts where practical.
Build with the right parts and a clear sequence.
Prefer the completed result? Browse finished custom Hot Wheels and compare the actual casting, finish and wheel details.

